How to SSH into a Mac: Remote Login, IP Address and Fixes (2026)
To SSH into a Mac, turn on Remote Login in System Settings, find the Mac's IP address, then run ssh username@ip-address from another computer. It takes about two minutes on the same Wi-Fi network.
This guide walks through each step from a Mac, Windows or Linux. It also covers the common errors and how to reach your Mac when you're away from home.
The quick version
- On the Mac, open System Settings > General > Sharing and turn on Remote Login.
- Find the Mac's IP address with
ipconfig getifaddr en0and your username withwhoami. - From the other computer, run
ssh you@192.168.1.42and type your Mac password.
Step 1: Turn on Remote Login
Remote Login is the SSH server built into macOS. It is off by default.
Open the Apple menu and choose System Settings. Click General, then Sharing. Scroll down and turn on Remote Login.
Click the info button next to it to choose who can log in. Pick Only these users if other people share the Mac. Leave Allow full disk access for remote users off unless you need it.
Prefer the command line? This does the same thing:
sudo systemsetup -setremotelogin onOn recent versions of macOS, this command asks for Full Disk Access. If you see that message, give Terminal Full Disk Access in Privacy & Security, or use System Settings. To check the status, run:
sudo systemsetup -getremoteloginStep 2: Find your Mac's IP address and username
You need two things: where the Mac is on the network, and which account to log in as.
The fastest way to get the IP address is this command on the Mac:
ipconfig getifaddr en0It prints something like 192.168.1.42. If it prints nothing, try en1. You can also open System Settings > Wi-Fi and click Details next to your network.
Your Mac also has a local name that works on the same network. You'll see it at the top of the Sharing page, for example Your-MacBook.local. Using the name means you don't have to look up the IP again when it changes.
For the username, run whoami in Terminal. It is the short name of your account, often all lowercase.
Step 3: Connect from another computer
macOS, Linux and Windows 10 or 11 all come with an SSH client. On a Mac or Linux, open Terminal. On Windows, open PowerShell. Then run:
ssh you@192.168.1.42Or with the local name:
ssh you@Your-MacBook.localThe first time, SSH asks you to confirm the Mac's fingerprint:
The authenticity of host '192.168.1.42' can't be established.
ED25519 key fingerprint is SHA256:...
Are you sure you want to continue connecting (yes/no/[fingerprint])?
Type yes and press Enter. Then type your Mac password. You won't see the characters as you type. That's normal. You are now in your Mac's shell.
Step 4: Log in with a key
Typing a password every time gets old. An SSH key is faster and safer. Run this on the computer you connect from:
ssh-keygen -t ed25519
ssh-copy-id you@192.168.1.42
Press Enter to accept the defaults. After this, ssh you@192.168.1.42 logs in without a password. On Windows, ssh-copy-id is missing. Copy the contents of id_ed25519.pub into ~/.ssh/authorized_keys on the Mac instead.
Step 5: Add a short name
Add this to ~/.ssh/config on the computer you connect from:
Host mac
    HostName 192.168.1.42
    User you
Now ssh mac is all you need.
Fix common SSH errors on Mac
Copy the error you see and find it below.
"Connection refused"
The Mac is reachable but nothing is listening on port 22. Remote Login is off. Turn it on in Sharing and try again.
"Operation timed out"
Your computer can't reach the Mac at all. Check the IP address again. Make sure both devices are on the same network. A Mac that is asleep won't answer either. The error No route to host has the same causes.
"Permission denied (publickey,password)"
The Mac rejected the login. Check the username with whoami. Make sure you typed the Mac password. If you chose Only these users in Remote Login, add your account to the list.
"REMOTE HOST IDENTIFICATION HAS CHANGED"
The Mac's key no longer matches the one your computer saved. This happens after reinstalling macOS or when a new device gets the same IP. If you trust the change, remove the old key and connect again. You may also see Host key verification failed.
ssh-keygen -R 192.168.1.42"Could not resolve hostname"
The name you typed can't be found. Check the spelling of the .local name on the Sharing page. Names with spaces use dashes, like Your-MacBook.local. If it still fails, use the IP address.
SSH into your Mac from outside your home network
Everything above works on the same Wi-Fi. Away from home, your router blocks the connection. You have three good options.
| Option | Opens a port | Setup | Works behind CGNAT | From iPhone |
|---|---|---|---|---|
| Port forwarding | Yes, port 22 | Router settings | No | With an SSH app |
| Tailscale | No | Install on both devices | Yes | With an SSH app |
| Macky | No | Install on Mac and iPhone | Yes | Yes, built in |
Port forwarding
You tell your router to send port 22 to the Mac. It works, but your Mac is now open to the whole internet. Use keys only and turn off password login if you do this.
Many internet providers use CGNAT, which means you don't have your own public IP. Port forwarding can't work there at all.
Tailscale
Tailscale puts your devices on a private network. You install it on the Mac and on the device you connect from, then SSH to the Mac's Tailscale address. It's a solid choice and free for personal use. We compared it in Tailscale vs Macky.
Skip the setup with Macky
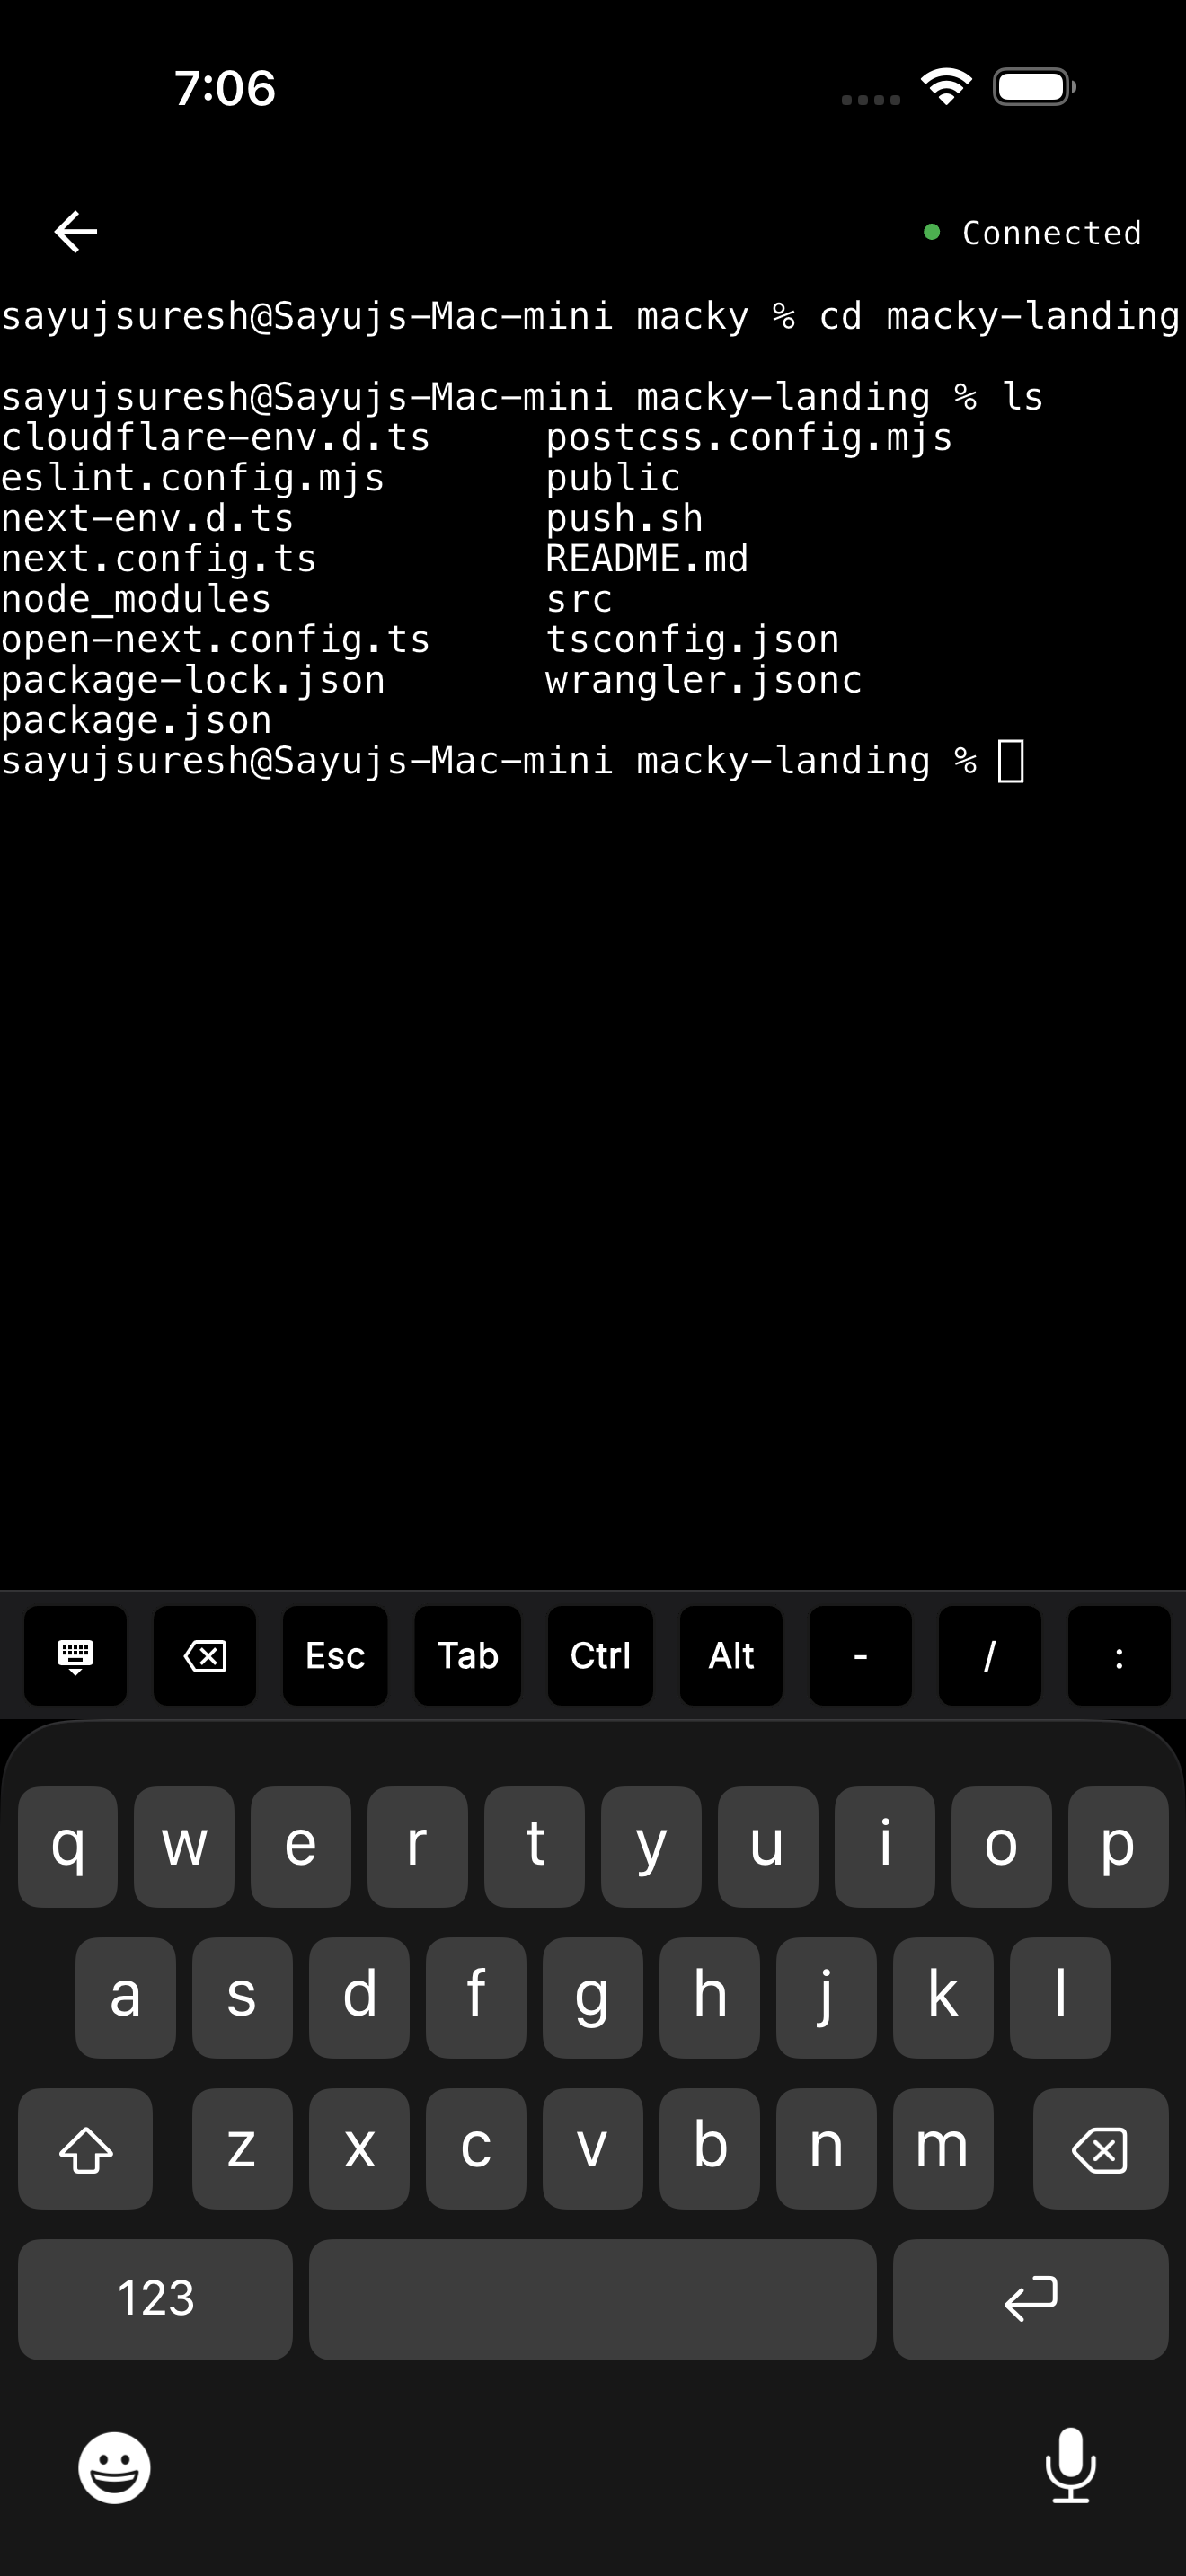
If you mostly want your Mac's terminal from your iPhone or iPad, Macky does it without SSH. Install it on your Mac and your phone, sign in on both, and connect. You don't turn on Remote Login or open any ports.
You get your Mac's own shell with all your tools. The connection goes straight between your devices and is end-to-end encrypted.
- Your servers come with it: type
ssh my-vpsin Macky and it uses the keys already on your Mac. Nothing gets copied to your phone. - Locked down: every new device has to be approved on the Mac, and a master password protects the terminal.
- Lid closed: with Pro, your MacBook can sit closed on the desk and you can still use it.
- Full screen too: switch to your Mac's desktop in the same app.
Macky is free with 5 minute sessions. Pro is a one-time $29. Get it on the App Store.
Keep the Mac awake
SSH can't wake a sleeping Mac on its own. For long sessions, keep it awake with caffeinate. See our caffeinate guide for the exact commands.
Which way should you use?
- Same Wi-Fi: Remote Login and
ssh you@Your-MacBook.local. - From anywhere, on a laptop: Tailscale plus SSH.
- From your iPhone or iPad: Macky. No SSH setup and your keys stay on the Mac.
Doing this from an iPhone? See how to SSH into your Mac from iPhone.
FAQ
Is SSH on a Mac safe?
Yes. SSH encrypts the connection. To keep it safe, use keys, limit which users can log in, and don't open port 22 to the internet.
How do I find my Mac's IP address?
Run ipconfig getifaddr en0 in Terminal on the Mac. You can also open System Settings, Wi-Fi, and click Details next to your network.
Can I SSH into a Mac from Windows?
Yes. Windows 10 and 11 include an SSH client. Open PowerShell and run ssh username@mac-ip-address.
How do I SSH into my Mac over the internet?
Use port forwarding on your router, a private network like Tailscale, or Macky. Port forwarding does not work behind CGNAT.
Does Remote Login work when the Mac is asleep?
Usually not. Keep the Mac awake with caffeinate during long sessions.
How do I turn off Remote Login?
Open System Settings, General, Sharing and turn off Remote Login. In Terminal, run sudo systemsetup -setremotelogin off.
Related Guides & Comparisons
Try Macky
Connect to your Mac terminal from your iPhone.